How to Remove Gel-X Nails at Home
In the event that mind boggling nail craftsmanship, long almond nails and breathtaking, chrome nail treatments are your favorite, then, at that point, you probably know something about acrylic nails and gel augmentations (otherwise called Gel-X nails). The last option fills in as a kind of updated rendition of fake nails and are stuck to your normal nails, adding strength and solidness to make anything that length and shape you want. Gel expansions are perfect for wearing a wide range of nail workmanship, they're not difficult to apply, and they utilize less synthetic substances (and make less vapor) than acrylic.
Yet, it takes the right evacuation cycle to guarantee that gel expansions additionally less harming for your normal nails. The right evacuation interaction will permit you to develop your regular nails while keeping them solid, and notwithstanding the way that perplexing it might look, eliminating gel augmentations is quite simple to do at home. Peruse on as we share how to eliminate your Gel-X nails at home without harming your regular nails appropriately.
What Are Gel-X Nails?
Gel expansion nails are connected to the normal nail with manufacturer gel or gel stick and are restored with an UV light. The gel nails that are applied to your normal nail are delicate, adaptable and douse off with CH3)2CO. They come in lots of various shapes and sizes from long casket to short square to medium almond-formed. They can go on around three to about a month and when appropriately eliminated, the delicate gel expansions can break up without harming your nails, clearing a path for another set to be applied.
Are Gel-X Nails Better compared to Acrylics?
Gel expansions are preferred over acrylics on the grounds that the application is less difficult and there's no smell, documenting or forming. Be that as it may, they can be harming when they are pulled off utilizing some unacceptable apparatuses. Pulling off gel expansions (like pulling off acrylic nails) with a nail device, a Visa, a Metrocard (New Yorkers get it) or essentially all alone is truly hindering to the nail plate and could in fact tear the nail separated from the skin.
While eliminating gel augmentations, the best thing to do is to splash them with CH3)2CO so they can break up. Any kind of aggravation is a decent marker that you're eliminating them inappropriately.
What Instruments and Items Are Expected to Eliminate Gel-X Nails?
Here is a rundown of all that you'll have to eliminate your Gel-X nails at home:
100 percent unadulterated CH3)2CO
Cotton balls
1 sheet of tin foil or a bowl
Nail trimmers
A hard core nail document (100/180 coarseness; the very type that works for acrylic nails)
Fingernail skin pusher
Fingernail skin oil
What amount of time Does It Require to Eliminate Gel-X Nails?
Gel-X nails can take somewhere in the range of 15 to 30 minutes to eliminate at home. The longest piece of the interaction is the CH3)2CO drench. When you record the outer layer of your nails, then you can absorb them CH3)2CO or envelop your nails by cotton (absorbed CH3)2CO) and foil. This can take somewhere in the range of 10 to 25 minutes. You would rather not hurt your nails, so it's smarter to go through the additional five minutes splashing your nails to eliminate all the gel than pulling and ripping the augmentations off.
Hard Gel versus Delicate Gel Nail Augmentations: Can Both Be Taken out at Home?
Hard gel, (additionally called developer gel or BIAB — manufacturer gel in a jug) can't be doused off like delicate gel. It must be documented off with an electric record. Hard gel can be utilized to make nail expansions or to make strength and shape on normal nails.
Delicate gel is more strong and adaptable than hard gel, and it's regularly used to add tone to the nails or to make delicate gel tips, which Gel-X nails are. Delicate gel can be taken out at home by basically drenching it off with CH3)2CO. ask your nail tech what kind of gel your nail treatment whenever made of so you know whether you really want to go to the salon to have it taken out.
Step by step instructions to Eliminate Gel Augmentation Nails at Home
Utilizing CH3)2CO to eliminate your gel augmentations is the best strategy for some reasons. While absorbing them cleanser and water assuming they're as of now lifting might be compelling, it will require an incredibly lengthy investment. Avoid the stand by, and follow these five basic moves toward eliminate gel augmentations at home.
1. Trim and Document Your Nails
Assuming you have long expansions, managing them before evacuation will assist with accelerating the cycle. Try to look under the nail so you're just managing the expansion and not your regular nail.
Whenever you've managed your gel expansions, buff the surface with a course document or an electric record, on the off chance that you have one. Disturbing the top layer of gel clean will assist with accelerating the expulsion cycle.
2. Absorb CH3)2CO
Utilizing 100% unadulterated CH3)2CO will yield the best and fastest outcomes. To eliminate the gel expansions, there are two distinct ways you can go about it. The first is to fill a little glass bowl with barely sufficient CH3)2CO to cover your nails. Douse them for 15 to 20 minutes. Tolerance is key during this step so turn on your number one Program and daydream.
To splash your nails, you can likewise utilize foil, cotton and CH3)2CO to eliminate your gel expansions. Douse a cotton ball in CH3)2CO, connect it to the nail, and cover both with a piece of foil. Do this for each nail. Allow the foils to sit on your gel augmentations for around 15 to 20 minutes.
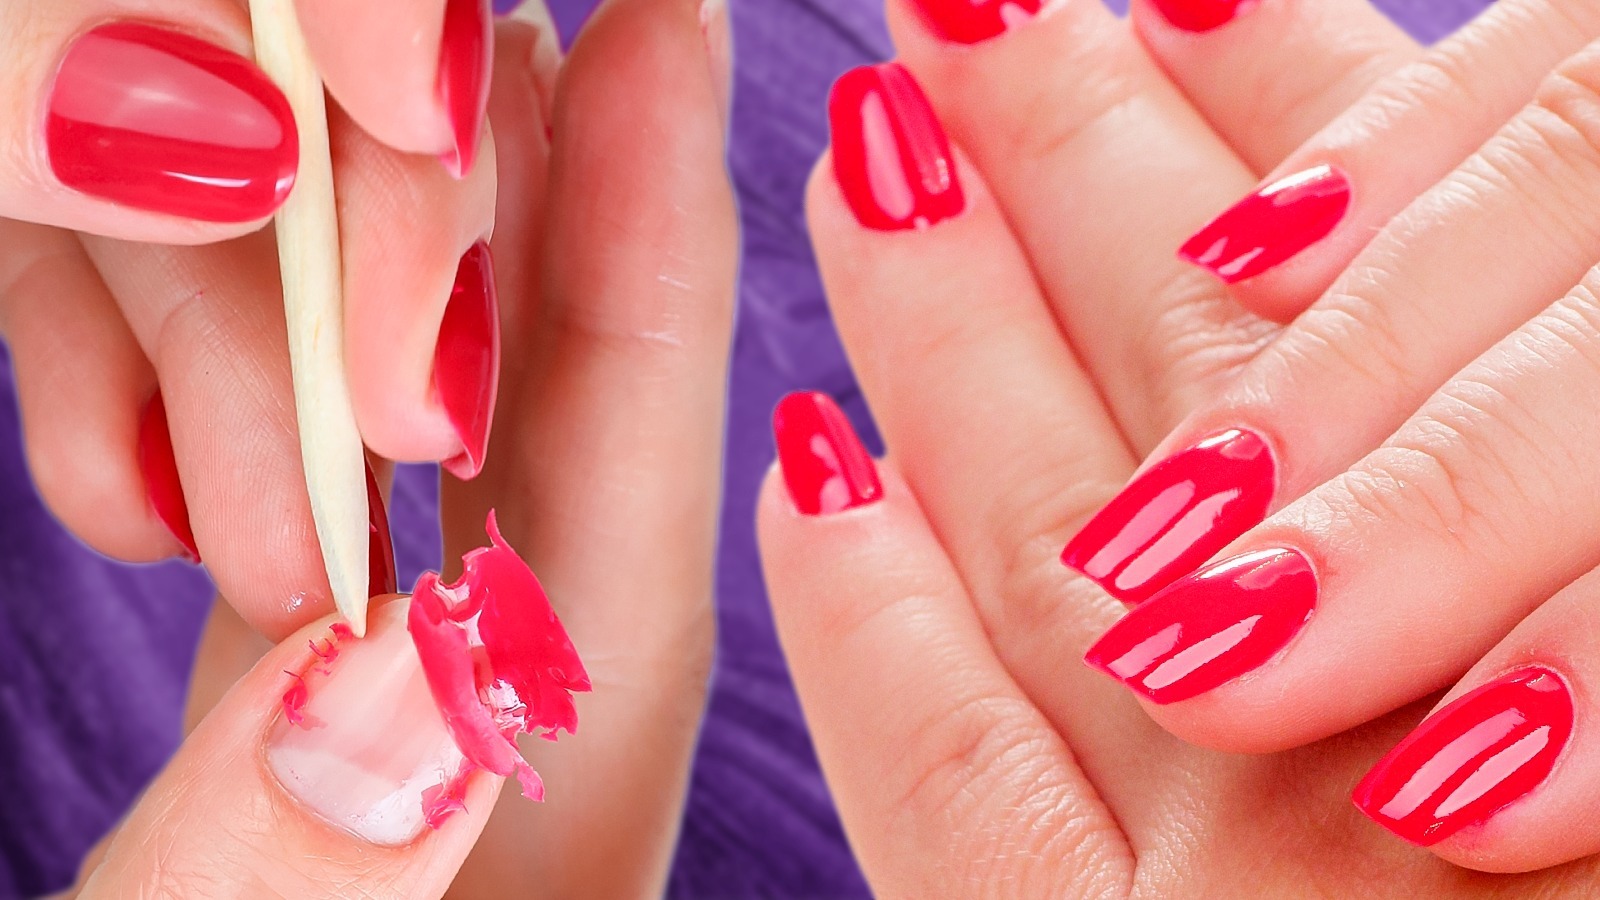
3. Tenderly Scratch Off the Expansions
When the time has elapsed, the expansions will have started to break up and you can utilize an orange stick to delicately scratch them off. If whenever during this interaction the scratching starts to damage or you end up brutally pulling at the nail, return to dousing with CH3)2CO. Rehash the cycle until you can delicately eliminate the whole gel augmentation and nail stick. Cruel scratching and pulling before the gel has completely broken down can genuinely harm your regular nails.
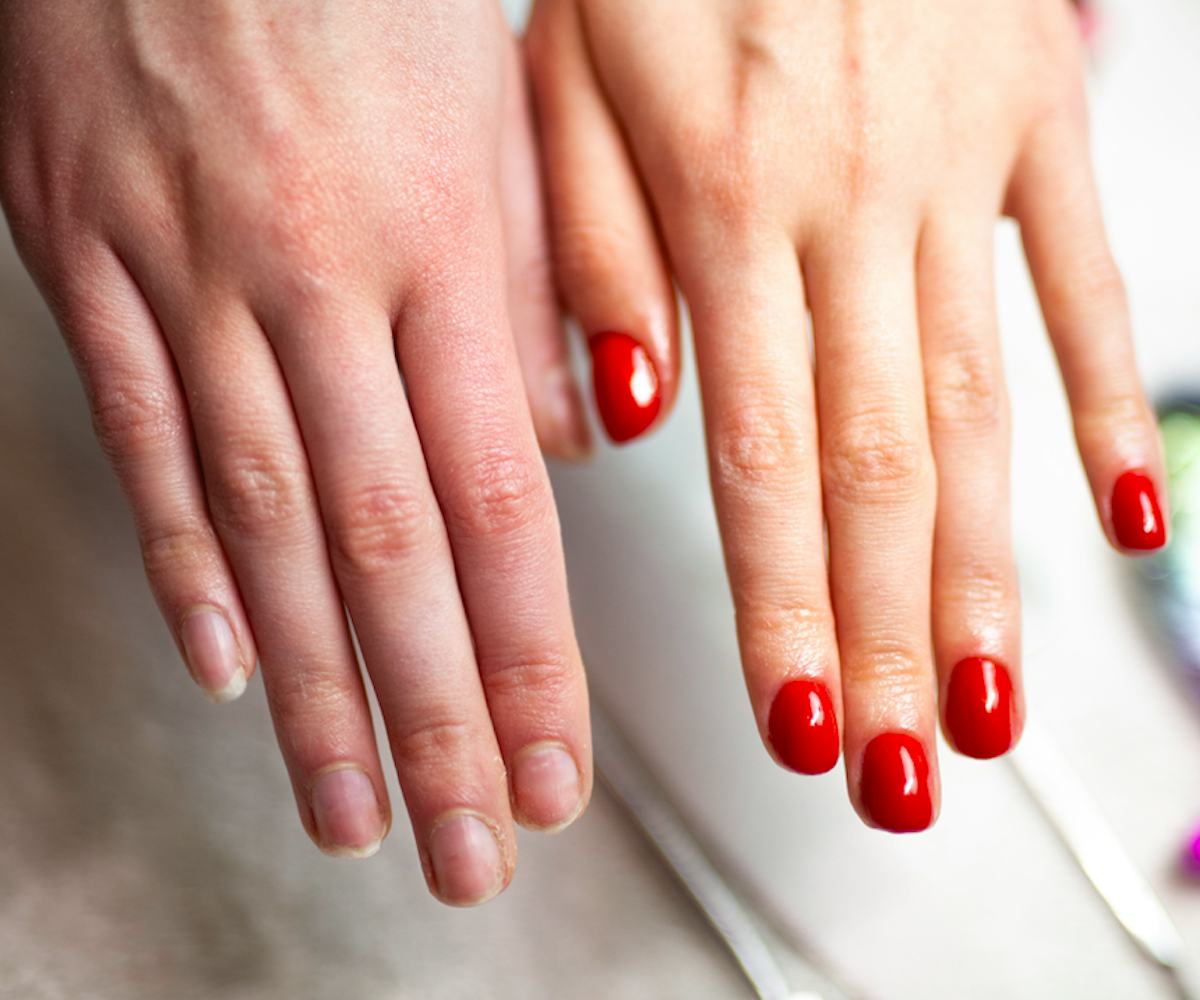
4. Buff Your Regular Nails
When the gel expansions are all eliminated, gently buff the outer layer of your nails with a support to eliminate any overabundance stick.
5. Saturate Your Nail Beds
Get done with fingernail skin oil or petrol jam to saturate the skin around your nails. On the off chance that you're appropriately eliminating your gel expansions and your regular nails don't seem harmed, go ahead and clean your nails or supplant the gel set you just eliminated with another one.